Friday, October 28, 2016

New Artwork and STILL Uploading my backlog to RedBubble


     Well what have I been up to? I've had limited time to work on my projects but have been getting bits and pieces done here and there. I have been working on some commissions which are surprises and will be revealed once they get to the recipients. My main project I have been working on though is getting my back log of work up on my new Redbubble store. I have to admit though, that the Redbubble uploader is MUCH easier and quicker than Society6. I have been sprucing up my Society6 store so that all the t shirts look nice, but man, what a pain in the butt! On a good day, it takes time as Society6 is slow, but it seems half the time the site is having issues and bugs and not working the way it should. Let me know how it looks on your end as I've had issues with incorrect pricing and images not even showing up. Not pleasant, nor a good impression. We will stick it out though.
   
     Since I am also getting Redbubble up and running and sprucing up Society6, I have also decided to add the T-shirts to my Fine Art America store as well as my own website, www.beckysdigitalart.com. I am editing the current images to look more appealing on a t-shirt format. Thanks to GIMP and an app called Photoscape X, that is turning out relatively easy.
I have also added a link to my Redbubble store in the menu bar next to Society6  here on this blog. You should be able to easily access the respective stores and have a look around on either site.
Here are links to the stores if you want to check them out here: BHDigitalArt for Redbubble and Becky's Digital Art, for Society6.


Tattoo Rose

     Lastly, my latest completed artwork is another zentangle inspired creation, I call it Tattoo Rose as it reminds me of a rose styled tattoo. Here is the black and white version of Tattoo Rose. I am also in the process of adding color to it as well.


   I have a few more projects in the works, but I am really liking this dreamcatcher doodle that I started. I will be adding color to it as well and I think that it will look great on some of the products offered at both the Redbubble and Society6 stores.
Dreamcatcher Doodle


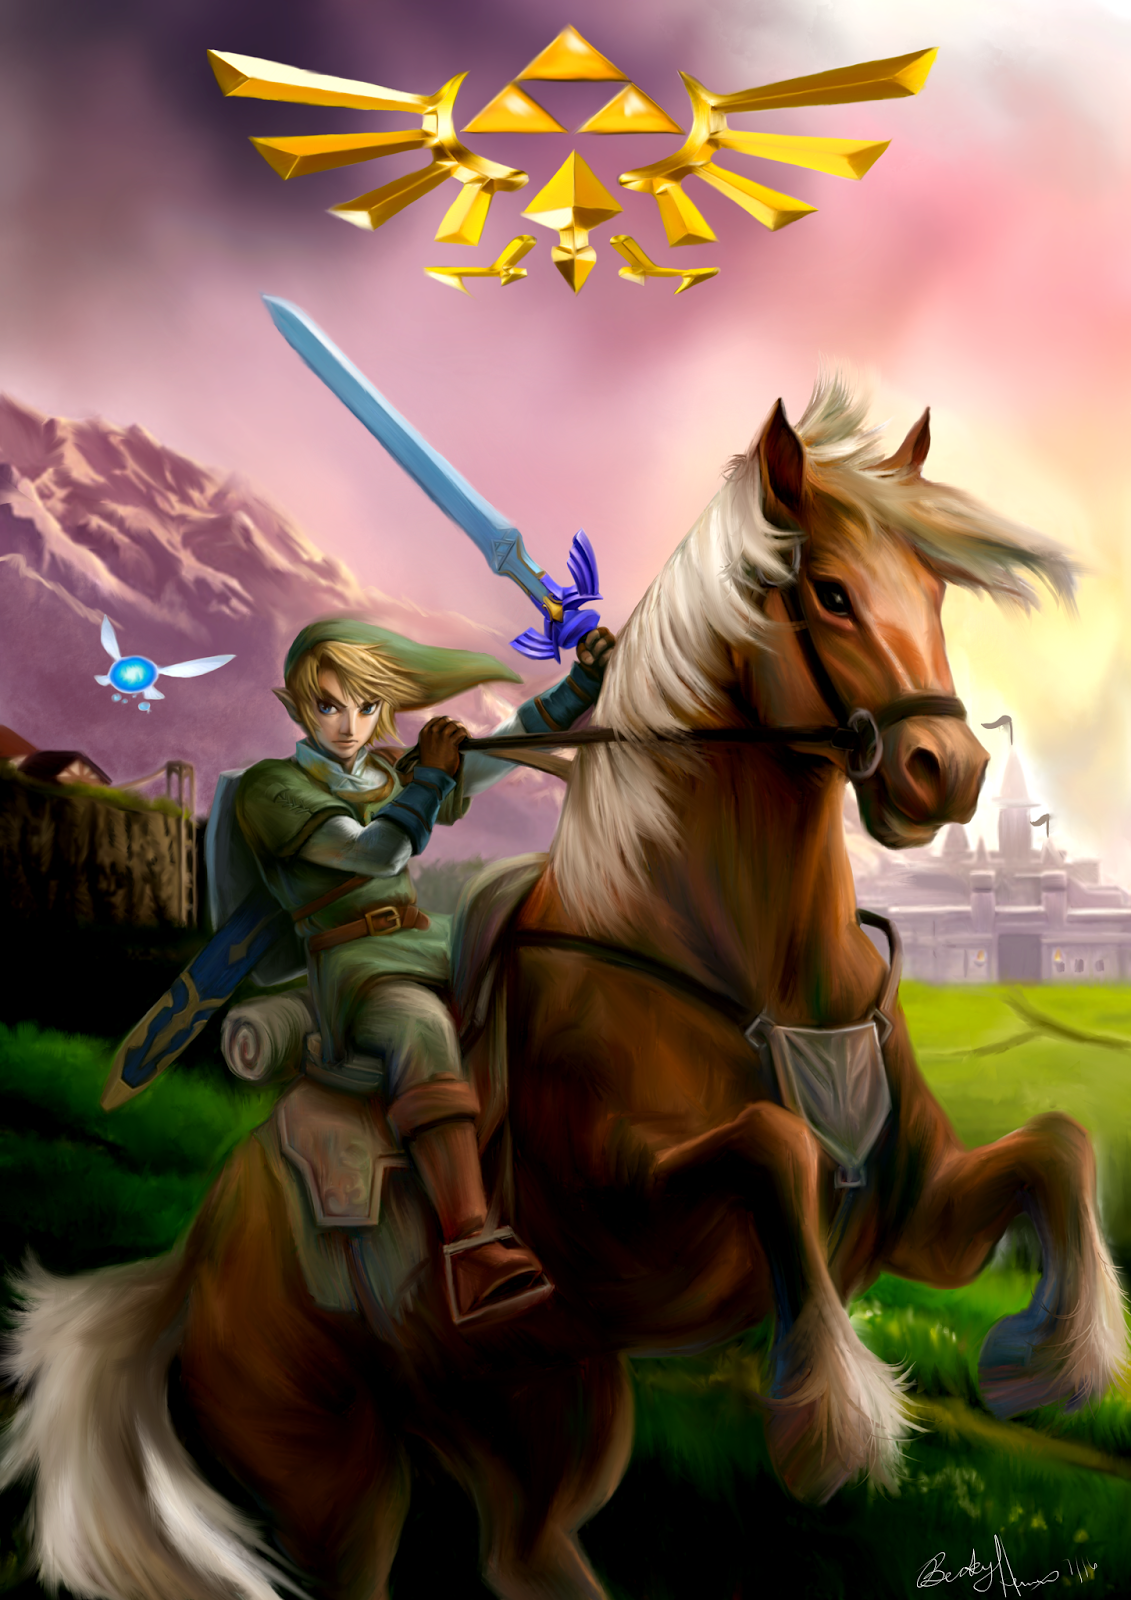
I haven't worked realistically in awhile as I am loving the looseness offered by doodles but I do have a portrait sketched out of a famous icon. I haven't done a people portrait in a while so that should be fun and different.

     Anyways that is all for now. This was just a quick update on whats up. Check out the stores if you want or check out my Facebook Page. I offer discounts and special promotions so come on by.


BHDigitalArt Redbubble Store

Becky's Digital Art Society6 Store


Thanks for stopping by!

--Becky Herrera

Monday, October 17, 2016

Becky's Digital Art is now on Redbubble and Quick Comparison of the Various Print on Demand Sites


     I have been wanting to get on more POD stores for a while. My main store of course is Fine Art America and my website directs to them. FAA is a great platform and there focus is mostly fine art prints of which have all been stellar and spot on color reproductions. I wanted to be able to print on more items though, and while FAA does have items like tote bags and throw pillows, it is still hard to get a following there. There are so many artists on FAA, that newcomers get lost in the crowd. I have done searches using my tags and still don't pop up in the searches, so I know it is going to be difficult to get found by the random buyer there. I do promote my site quite a bit and I attribute those random sales to that. Most of my sales there are custom commissions which I have printed through them because of the quality of the end product. That quality though comes at a price though and FAA isn't cheap. In fact their pricing may even deter some potential customers and their shipping is pretty expensive I find. I do like that I can have my own website through them and they have a lot of tools for marketing. Another nice thing about FAA is the uploading process is simple and efficient and I rarely have trouble with the website itself. Here is a link to my website that is linked to my FAA profile,  www.beckysdigitalart.com. One unique item that FAA has that the other PODs don't is the weekender tote bag, http://beckysdigitalart.com/products/zentangle-inspired-art-wolf-colored-becky-herrera-weekender-totebag.html. It is a really cool larger tote bag that could double as a beach bag or overnight bag. 

    Moving on, the next POD I have been on for awhile is Society6. Society6 caters to the younger crowd and has ton of different options for their product lines. While you can get your typical fine art prints at Society6, they really shine in the unique products that can have art printed on. They have t-shirts, hoodies, iPad, Phone and laptop cases and skins, mugs, tote bags, pillows throw blankets and more. They are also a bit cheaper, so it is easier on the budget. They have sales very frequently and also offer free shipping occasionally, which is a huge bonus. The profit margins are decent, but not spectacular. I do like that they recently revamped their uploading process because it used to be a huge pain uploading various resized and cropped images to fit the various products for sale. That being said, I have had huge issues with their site being randomly down, displaying incorrect pricing, not being able to upload or having all my tags and info disappear. I attribute this to the introduction of the new uploader, but I have had issues with incorrect pricing and not showing new items in the past. I still like Society6 and will continue to use them. I took a long time for me to get my first sale on their site, but it finally happened! Hopefully as I get more items up I will be found more easily in the searches.

Mug
A Line Dress


Drawstring Bag
     Now on to the newest POD site I am on, Red Bubble! I just set up an account with them a few days ago and have only uploaded a handful of images, but in that time, I have already had a sale! That is already a bonus for this site. I have also done searches for my items using the tags that I put on the art and low and behold, I come up in the searches and pretty high too on some products. That there is a huge bonus and hopefully will help sales. They have a ton of products available, such as hoodies, t-shirts bags and even dresses. Below are some samples of the products available already on my store. I will be uploading all my old artwork as well as new items in the coming weeks. It is so easy to upload and customize the different products and I have had pretty much no trouble at all with their site unlike Society6. There are many more products available and I will make the effort to have my art represented on each product the best I can. I already have a link to my Red Bubble store here on my blog, up in the menu bar next to Society6. There you can click on the various links to all the different products available. Pricing is good and they also offer frequent sales and free shipping. I have not yet purchased an actual product from them yet, but I will soon to test the quality and buyer experience. They do get good reviews and have a money back guarantee, so I am confident that the experience and quality will be great. Let me know what you think?


Hoodie

Women's Scoop Neck Tee


In the future, I have my eyes set on Zazzle, Imagekind, Cafepress, Threadless and a few other sites, but it will take time. I will update my experiences as I go. For now check out my RedbubbleSociety6 and Fine Art America sites and let me know what you think.

Thanks for stopping by!


--Becky Herrera
 www.beckysdigitalart.com

Wednesday, October 5, 2016

What Have I Been Up To?


     Well the title says it all. What have I been up to? It has been about a month since my last post. Blogs are hard to keep up with and when you get busy, it gets hard to keep up with the blog. Anyways, that is no excuse. I have been working on my art. I have a couple of commissions that need to stay private until done and received. I also completed a new painting recently.

Best Friends
     This is the latest painting. I call it "Best Friends" as it seems that the two horses are sharing a friendly moment. The painting is actually based on a public domain photo off a copyright free website called Pixabay. I actually love this site for reference photos. It is a huge source of inspiration and worry free since the photos are free of copyrights.
Here is a link to the website for those that are interested, https://www.pixabay.com/.

     The actual painting was done on my ipad as usual in my favorite app, Procreate. I love the rough texture that I used to create the background and then added a canvas overlay in the end to complete the feel of the painting. I believe that it gives an old style oil painting feel.

     If you are interested in purchasing this painting as a print or on products you can go to my website,
http://beckysdigitalart.com/featured/best-friends-becky-herrera.html. I also have it up on Society6 here, https://society6.com/product/best-friends6341_print#s6-5748971p4a1v45. Society6 has a few more options for print products and they sometime have free shipping so it is worthwhile to check them out.

     I have also completed another long term project. This one took me simply forever, but I think the finished product looks awesome. Here is the Peacock Zentangle Inspired Art. This one is also up for sale on my website, here http://beckysdigitalart.com/featured/peacock-zia-becky-herrera.html and on Society6 here, https://society6.com/product/peacock-zia-pxt_print#s6-8016433p4a1v45


Peacock Zentangle Inspired Art


     Another project that I finished is my third installment of my favorite dog breeds series. Here is the English Bulldog painting all done. I like adding the breed name border. I think it gives a kind of harmony to the series and makes it collectable. If you are a bulldog lover, you can find prints of this painting on my website here, http://beckysdigitalart.com/featured/english-bulldog-with-border-becky-herrera.html and on Society6 here, https://society6.com/product/english-bulldog-with-border-qz2_print#s6-4797220p4a1v45. Note that I also have the same painting available without the border and name across the bottom.
English Bulldog


     I have actually been working on more Zentangle art as well and cant wait to show the final product. It will look great on the products that Society6 sells. I will also be opening a new Red Bubble and Zazzle store in the near future. I figure the more products that I can offer in the most places, the better. So stay tuned for my announcement for that to go live.

     Well I think that about wraps up what I have been doing the last few months. Hopefully I wont be so lax on the blog posts in the future. For those that are interested, I keep most current on Facebook so you can find me there at, https://www.facebook.com/beckysdigitalart/?ref=bookmarks


Thanks for stopping by!

Becky Herrera

Monday, August 1, 2016

New Painting, Video Game Art

Legend of Zelda Fan Art


       Well I have been working on this painting for ages, but it is finally done and came out really well. This is a fan art painting of the Legend of Zelda, a video game from Nintendo. I don't normally do this type of art, but my husband is a huge fan of Legend of Zelda and so this painting was done as a birthday gift for him. It isn't my usual style, but it is good to expand and explore ideas. I did this painting on my iPad Air 2 using the app Procreate. 

Legend of Zelda, Link and Epona

Monday, July 25, 2016

My new favorite art style


Zentangle Inspired Art Wolf


The Zentangle Art Craze

     With the adult coloring book craze, there has been another craze coming about, zentangle doodles and zentangle inspired art. Zentangles are doodles done following different patterns. They are always done as squares and always black and white. Zentangle inspired art, is a little more lenient and you can use the zentangle patterns to create objects such as animals, flowers scenery and more.


Zentangle Patterns


     I have done two completed zentangle inspired art pieces so far, a wolf and an elephant. I also did them digitally. Traditionally, zentangles are done with pen or markers on cardstock or fine art paper. I am a digital artist, so naturally I would want to do these digitally.


     Well I did run into a few hiccups along the way, Since zentangle art is very detailed, zooming in to get those tiny details proved to be a problem, at least in most regular art apps. My go to app is Procreate. I love its versatility and intuitive design. It is a regualr art app however and zooming in to the level I wanted, produced some heavy pixelization. I went on the hunt and found out I needed a vector app to do away with the pixelization. Enter in the app, Concepts. Concepts is a wonderful vector and sketching app. I did my zentangle wolf almost entirely in Concepts. I did hit an issue however, I hit the memory cap on my iPad Air 2 and once that happened, Concepts became very unstable and crashed. I was almost done at that point, so imported my zentangle wolf back into Procreate to finish off the last few tangles and too add color which I am currently doing. This will be my workflow for now and I will try to reduce memory usage as much as I can to prevent the crashing.

    I love zentangle art and coloring in my creations are even more fun, you will probably see many more zentangle inspired art pieces from me in the future.

Thanks for looking!

--Becky Herrera
www.beckysdigitalart.com

Zentangle Inspired Art Elephant

Tuesday, June 7, 2016

What's New?

Latest Updates


     Well this blog post is a day late, but I have a lot of exciting things going on right now. I will be moving to a new home in a few weeks so blog updates will probably be sporadic until I get settled in the new place. I have had lots of commissions that have been keeping me busy which is awesome, but I have been a little slower working on my own projects. I should have some more time again once I am settled.

          So I have been working on my English Bulldog breed portrait. Here is the update. It looks like not much is done, but those eyes took forever because they are not shaped like normal eyes and all the folds make for a more complex subject. Overall, he is coming along nicely though will probably take a while to complete.


Next I am starting to Zentangle more. It is a perfect style for people that like to add intricate details like I do. Normally Zentangling or Zendoodles are done on paper with pen, I am of course trying it digitally, here is a peacock that I am starting to color but will take a long while to complete.

On that same note, here is a leopard gecko that I am starting to Tangle. I found a wonderful book at Joanns Fabrics the other day called Tangle Easy Wildlife Designs by Ben Kwok. It isn't another Adult Coloring book. It is a book to teach you how to make your own intricate design patterns like those found in adult coloring books. It comes with instructions, templates and inspirational examples. Best of all, these templates are copyright free and are able to be used to complete art to sell. I also became a part of the Facebook Group, Ornation Creation, which is a group created by the author and has many, many templates to choose from. I am very excited to try out this new art style and see where it takes me. 


 Tangle Easy Wildlife Designs


     Anyways, lots of new things to try and a new home to go to so I will definitely be busy the next few weeks. 


Thanks for looking!

--Becky Herrera

Tuesday, May 31, 2016

Step by Step English Bulldogs


English Bulldog Breed Art


English Bulldog


     Well I just finished a commission this past weekend, and I am making good progress on another commission, so I thought it was a good time to get started on my next addition to my Breed Art Series. I have already done the Labrador Retriever and the German Shepherd, so now I am doing the English Bulldog. Here is the line drawing to the left. Reference photos are from my own collection and creative commons. I will be doing this painting in steps and showing how I do stuff as I go. The next few blog posts will be on this. Hopefully this helps people understand digital art a little better and maybe even learn something new.

     So all my breed art series is in this montage style with the head study and then the smaller full dog profile. I try to get different coat colors when  I can. I basically sketched this one out in the app Procreate on my iPad Air 2. I like using the HB pencil for the sketch portion and I choose blue for the color because it shows up better than grey. So we are just in the beginning steps. I try and draw all the major guide lines i'll need while painting. All the painting will be done on a separate layer from the line drawing, and I will eventually delete the line drawing in the end. This is all I have so far so stay tuned for next weeks blogpost and progress on our Bulldog painting.

Thanks for looking!

Monday, May 23, 2016

Eye Tutorial

Simple Eye Tutorial


     Today I am going to do a simple eye tutorial. If you do portraits, whether animal or people, the eyes are the most important part of the painting. I start all my portraits with the eyes. If I can get the eyes right, the rest of the portrait will usually fall into place.
   
     An important part of drawing or painting eyes is knowing the basic anatomy of the eye. This will go a long way to getting them to look realistic. The major parts are the pupil, which is the black part in the middle, the iris which is the colored portion of the eye and the sclera which is the white part of the eye. In animal portraits, most of the time the sclera won't be visible. Parts that are often forgotten in drawings and paintings, but help the eye look real are the catchlight or highlight. This is the reflective part of the eye and adding it will help make the eye look wet and round. There is also the eyelid shadow at the top part of the eye. This is the area of the eye that is usually darker because of the eyelids shadow on the eye. It is often forgotten in painting, but when added, makes a more realistic eye.
   
     Last part before the tutorial, make sure you know the specific eye anatomy of the animal that you are drawing. Many animals have different shaped pupils, but this isn't noticed by the artist and they may end of drawing an incorrect eye. A couple of examples are that cats have oval pupils, not round like people or dogs. I've seen horses drawn with round pupils countless times, but in reality they have rectangular pupils! Snakes have slit or oval pupils as well, so it pays to know the anatomy of the subject you are going to draw.

Now I am going to use my cat Katie, whom I used for the fur tutorial. so lets get started.


Step 1: I start with a line drawing on the bottom layer. On a new layer, I take a dark black color and color in the pupil and the eye rims. I have it at about 80% opacity so build up color layers til I get the depth I want. Since I am working in Procreate, I am using the Round Brush at about 50% size.


Here you can see the different layers. Layers are great as they keep the parts separate and the colors wont get muddy and blend into each other before you are ready to blend them.


Step 2: On a new layer below the pupil layer, I add a medium yellow green color for the iris color. I add it as an even flat color for now.


Step 3: Next, I add a darker yellow green color on the same iris layer. I radiate this color out from the pupil in a fan like pattern. We will blend these iris colors together in a future step.


Step 6: Here we blended the two colors together on the iris layer.


Step 7: I add a medium brown color to the eye rim on the pupil layer. This can also be done on a new layer if you want as well. If you do it on a new layer, place that layer below the pupil layer but above the iris layer.


Step 8: I add some peachy and pink colors to the eye rim and blend  together with the brown and black of the eye rim.


Step 10: Here we add the eyelid shadow on the iris layer.


Step 11: Here the eyelid shadow is blended in so there aren't any harsh lines. Sometimes I will add the eyelid shadow on a separate layer above the pupil and iris layers. Either way works.


Step 12: On the pupil layer I add a light blue color to the lower eye rim and blend in. This adds a shine and makes the eyelid look wet and gives more realism.


Step 13a: On a new layer above the pupil layer, I add our highlights. I usually pick a very light blue almost white color. I never use just white though as I think it looks too harsh.


Step 13b: Here is the highlights. They look white here, but in reality they are a very pale bluish white. It depends where to put the highlight, but I usually add two to each eye and have them half on the iris and half on the pupil. This isn't a set rule though.


Step 14: Blend the highlight so there are no harsh lines. You can use an airbrush blender or the round brush blender on 90% opacity.


Step 15: I add some extra blues and greens to the iris layer and blend these in. You can add lots of colors to give the iris more interest. Irises are never just green, blue or brown. There are usually lots of different colors in there to make each eye unique.


Step 16: I went back and added more color to the highlights. At the very end, I will merge the pupil, iris and highlight layers together and then blend. I feather out the pupil into the iris and blend the highlight into both so that it looks natural.


Step 17: This is before the merging of layers, but at this point I will merge the layers together and then blend to get everything blended together and looking natural.


     I hope you enjoyed this tutorial! It is very basic in how I approach eyes. I will spend a lot of time adding colors to the iris to add depth and interest and I will go back and forth a lot on this step.

I hope this helps anyone who is curious on how to draw eyes digitally!

Thursday, May 19, 2016

Weekly Promotion for 5/20/16!


Weekly Promotional Painting


Secretariat
     In honor of the Preakness Stakes this weekend, I am offering another of my horse racing portraits as a limited time promotion. This one is my Secretariat Portrait . This is being offered as a 24x36 inch gallery wrapped canvas for $100. Offer is limited to 5 prints or until Sunday, May 22, 2016 at midnight. Be sure to check back each week for the new promotional painting of the week!


Thanks for looking
--Becky Herrera

Monday, May 16, 2016

How to Add a Canvas or Paper Texture to your paintings in ProCreate

Adding a Canvas Overlay In Procreate


     There are a lot of advantages to digital painting, but sometimes the resulting paintings can lack a texture. I notice this a lot in my digital pencil drawings. To remedy this, I like to add a paper texture to my drawings.


Drawing Paper Overlay
     Since I like to paint and draw digitally in a realistic style, I also like to add that extra texture of a drawing paper or canvas to my art. All my digital pencil drawings have an added overlay, and only some of my digital paintings will have the canvas overlay.

     The border collie drawing to the left has a rough paper texture added, which I think lends to a more authentic look.


Contemplation with  canvas overlay
     This is my snow leopard painting, "Contemplation" with a canvas overlay. Now I don't always add the canvas overlay to my digital paintings for a couple reasons, mostly if the painting is going to already be printed on a canvas wrap, the canvas overlay can actually muddy the colors. A canvas overlay is great though if the painting is going to be printed on paper,  it gives that oil painting feel. I have actually had people think that my paintings and drawings were done in traditional methods, especially with the overlays. I am always honest though with how my art is made, so when I upload to the printer of my choice, I always state that it is a digital painting or drawing.


     So here is how I add the canvas or paper overlay.
First, you need the canvas or paper texture of your choice. You can go on google and find paper textures under public domain websites or you can purchase the texture off sites like Shutterstock or Getty Images. I actually have found that another art program that I use, Art Rage has some awesome textures so I will open Art Rage on my iPad, click create new painting.You can then choose paper or canvas and how rough or smooth you want the texture.

     Next, I will save the Art Rage canvas as a new painting and export to my camera roll. You can then import this canvas texture into your Procreate painting as a new layer. In the image to the right, you can see the canvas as the top layer. I have it invisible right there, but when clicked on it will cover the painting.


     Now with the texture layer selected, go to the blend modes for that layer. You just tap the N next to the layer to bring up blend modes. Default mode for the layer will be Normal, but you want to go down to Multiply. This will allow your painting to show through the canvas or paper layer, but still allow the texture to show.


     Here you can see the close up of the canvas texture on my painting. It adds that much more of a finished or polished look to it. You can  use this method with many types of textures, not just paper and canvas. There are many cool effects that can be created using this method and the blend modes in digital painting. Try out all the different blend modes and see what you can create.


I hope you enjoyed this quick and dirty digital painting tip!


--Becky Herrera
www.beckysdigitalart.com
www.pixelpaintcreations.blogspot.com

Thursday, May 12, 2016

May 13th Weekly Promotional Painting!

Weekly Promotional Painting


     Well it's that time again! Even though it is Friday the 13th, you could be lucky and snag a deal on this weeks promotional painting. I am offering my German Shepherd Breed Art Painting as a 24x36 inch gallery wrapped canvas for only $100! This offer is good until Sunday 5/15/16 or until 5 prints have sold! 

Be sure to check back next week to see what the promotion will be or hit subscribe to have any new updates delivered to your inbox.

Thanks for looking!


--Becky Herrera

Monday, May 9, 2016

Realistic Fur Tutorial


How To Paint Realistic Fur


     Today I am going to give a quick, basic tutorial on how I create realistic fur and hair. For this tutorial, I am using an iPad Air 2, a Wacom Bamboo Stylus, and the app Procreate. Procreate is a very versatile and intuitive app and is what I use 95% of the time to create my paintings.

     The first step to realistic fur, is to figure out which way the fur grows on your subject. It is important to have your brushstrokes follow the same growth pattern of the fur. Most fur grows the same way, out from the nose and eyes in  a fan like pattern. In the photo below, of my cat, Katie, you can see the red arrows show the direction of her fur growth. This is the same direction your brushstrokes will go.

Fur direction is out from the nose and eyes

     Next I make a quick line drawing on the first layer. In digital art, you can use a wonderful tool called layers. This allows you to draw and paint without ruining a top or bottom layer. My line drawing is always on a separate layer and I actually delete it when I complete a painting. I also make a separate layer for my color palette. I like having my color palette easily accessible so having it on a separate layer works for me.


     Here is the
line drawing on the left and on the right I have my basic color palette as well as some blocking in of color.


     So in the above images, I have the basic line drawing. This is on the bottom layer and will be deleted when the painting is completed. On the right is my basic color palette, again on a separate layer. I picked a couple different tan colors for the base color as well as a darker brownish black that will be used as a shadow color and for the stripes.

     Normally when I paint, I start with the eyes and paint those until completion. If I can get the eyes right, the rest of the painting should come out ok. I didn't do the eyes here for this tutorial, but will do an eye tutorial in the future. I also work sections of the painting to almost completion. Each section is on a separate layer, and then merged down towards the end. In the above right picture, you can see I laid in some base tan color.

     For fur and hair I use a round brush at various sizes and opacities. In digital art, there are unique brushes called stamp brushes that can simulate hair and fur, but I've never found those very useful in giving a realistic look. They can actually look artificial. The round brush may take longer, and be more repetitive, but the results are worth it.


Here you see the round brush highlighted. It is the round brush that comes with the app, but I have modified it slightly to be more opaque and have more of a narrow tail at the end of the brush stroke. This helps it create fur more effectively.


In the image on the left, I added the slightly darker tan color and on the right I started smudging in the direction of fur
growth.


      So in the next steps above, I add the slightly darker tan color and add it in with a large round brush at 75% opacity.  On the left you can see that I have blended these colors together, all with the growth of the fur.

     Now on a separate layer, I'll start to create the stripes of the tabby coloring.


Here I added more of the lighter tan colors and then added the darker stripe color roughly where they need to go. I turn off the bottom layer, and then smudge out my stripe layer as seen on the right.


     On the left above, I continue to add some of the tan colors on a new layer. I also add in my stripes roughly where they are supposed to be. My brush is full opacity and almost full size. I then turn off my base layer with the tans and concentrate on the striped layer. I smudge out my stripes using the round brush as a smudge tool. I use it at 75% opacity and about half full size.


Here I continue to add more stripe and base color, going back and forth. I then smudge the colors together. At this point I take my round brush smudge tool and shrink it to about size 12 or 15, pretty small and opacity between 60 and 75 %. I now pull individual hairs, pulling light over dark and dark over light, to mix the stripes in with the rest of the fur.


     Here you can see close ups of the fur detail. I am pulling the stripes out into the lighter color. Each smudge creates the illusion of hairs. You can shrink your smudge brush even smaller and get even more detailed hairs. This takes a lot of time but I love the results. At this point, I've merged the stripe layer down into the base color layer and continue to smudge the layers creating my fur details.

     You may notice that the layers are still kind of thin and transparent. I remedy this by duplicating my paint layer as shown below. Duplicating layers builds up color quickly. I can then either merge these down or even use another layer trick by multiplying the top layer. Using layer blend modes such as multiply can have interesting effects. Multiply, tends to intensify the saturation of the color.


     To continue on a painting, I'll follow the same steps above working on different sections of the painting at a time. I'll work each section on a different layer and once they are close to done, I'll merge down to the base layer. 

     Working in sections like this rather than working on the whole painting at once, allows me to focus on the tiny details in that section. It is like working on a bunch of mini paintings that will create a larger painting when completed. 

     There are many ways to create fur, and this is just one way. In fact, a lot of digital artists will probably frown upon this way, because of my use of the smudge tool. A lot of digital artists are not fans of excessive smudge tool use. I personally don't care, and really like the results I get with this method compared to others I have used. Again it take practice. Don't be afraid to use layers, experiment on a separate layer so you don't ruin your painting. If you don't like how something came out, delete that layer. In fact, you can duplicate a whole painting, layers and all in Procreate, so you can save  the whole painting before going and trying something experimental. Digital art can be very forgiving in this way, and I've learned a lot just trying new things on different layers.

     I hope this tutorial helps. If anyone has questions or comments, feel free to leave them in the comments section below!


--Becky Herrera